All featured products and deals are selected independently and objectively by the author. Better Report may receive a share of sales via affiliate links in content.
When using a toaster, just a few seconds can mean the difference between a superbly crisp piece of bread and a kitchen full of smoke. But rather than rely on those finicky toasters, you should actually be making your toast with an iron — the very same iron that you use to get wrinkles out of clothing. Any standard household iron may very well be the answer to achieving that perfectly toasted piece of bread, but just be sure to sanitize the iron between each use. Here’s how to use an iron for toasting bread.
Gather Your Ingredients
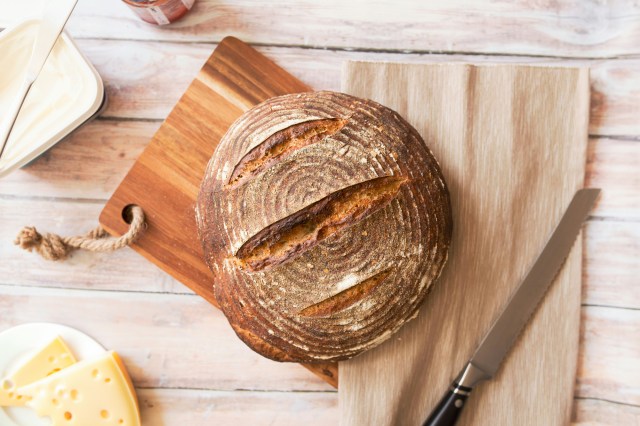
The ironing method can be used either for individual pieces of toast or in order to make the perfect sandwich melt. Either way, gather whatever ingredients are necessary. It all starts with your favorite type of bread, plus any meats or cheeses that you may desire. You’ll also need a tablespoon of butter or margarine, aluminum foil, a wooden cutting board or standard ironing board, and a clean iron.

Prepare the Bread
If you’re making a single piece of toast, butter both sides of the bread and then wrap the entire thing in aluminum foil. But if you’re making a melt, here’s what to do. Start by buttering each slice of bread on only one side, then flip the bread over. If using cheese, place one slice onto each piece of bread and add any meat, veggies, or condiments. Put the sandwich together and then tightly wrap it in aluminum foil. Once it’s wrapped, plug in the iron and allow it to get very hot — the hotter it is, the more crispy and golden the crust will be.

It’s Ironing Time
As the iron heats up, place the aluminum-wrapped bread or sandwich atop a cutting or ironing board. Once hot, firmly press the iron against the top side for two minutes. Then flip the food over and repeat, pressing the iron against the aluminum for two additional minutes. While you can tinker with the time in the future depending on how crispy you like your bread, two minutes per side is an excellent starting point.
Reader Favorites
Carefully Remove and Enjoy
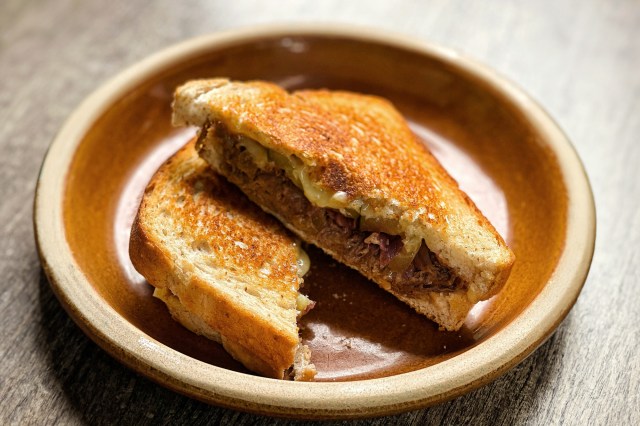
Unplug the iron and safely put it off to the side. Then unwrap the food — the aluminum foil will be safe to touch, but be careful to avoid burning yourself on hot bread or gooey cheese. The result should be perfectly golden and crispy pieces of toasted bread. There may be some trial and error at first, but this method is far more reliable than the average toaster oven. All that’s left is for you and your stomach to enjoy the fruits of your labor.
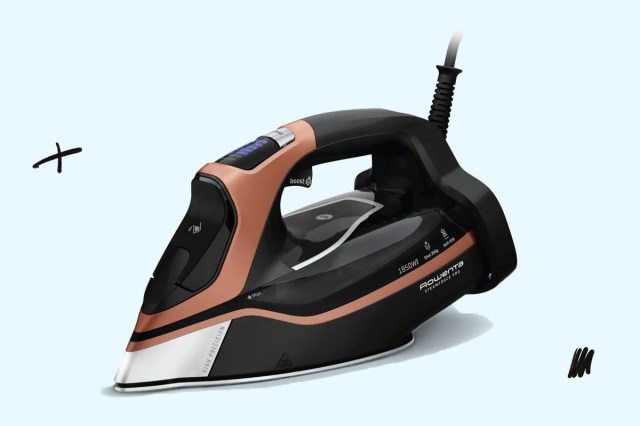
The Perfect Tools
If you’re in the market for an iron, there are few better options than Rowenta, whose high-quality irons are sold at stores such as Williams Sonoma. For a more affordable alternative, this PurStream iron is a fantastic choice as well.
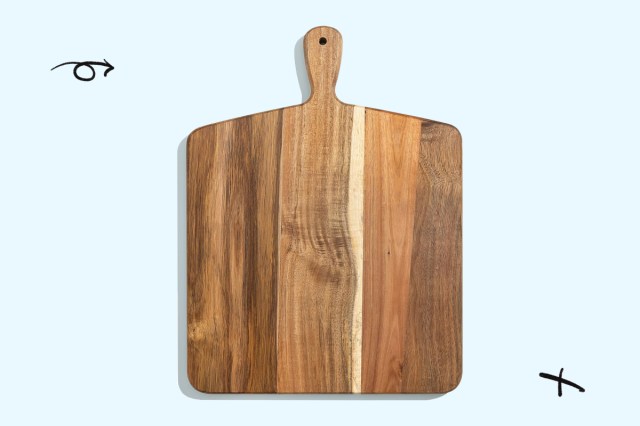
Cutting Board
For cutting boards, it’s important to use ones that are made of wood and can stand up to the heat of the iron. This cutting board made of acacia will get the job done and help you achieve that perfectly crispy sandwich. Food52’s bamboo double-sided cutting board is another wonderful choice that’ll provide durability against the intense heat of the iron.
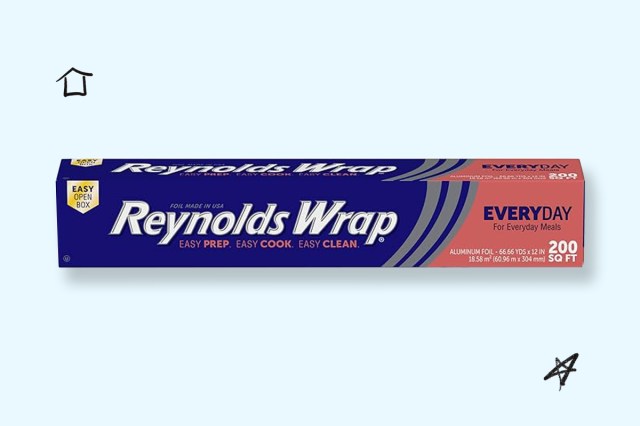
Aluminum Foil
For aluminum foil, Reynolds Wrap is the most trusted brand. For the perfect melt on your sandwich, we recommend Colby cheese. This cheese melts super easily under the heat of an iron and adds tons of creamy texture and delicious flavor to any melt.
More From Our Network
Better Report is part of Inbox Studio, an email-first media company. *Indicates a third-party property.


