Everyone Should Be Making Their Own Butter — Here’s How

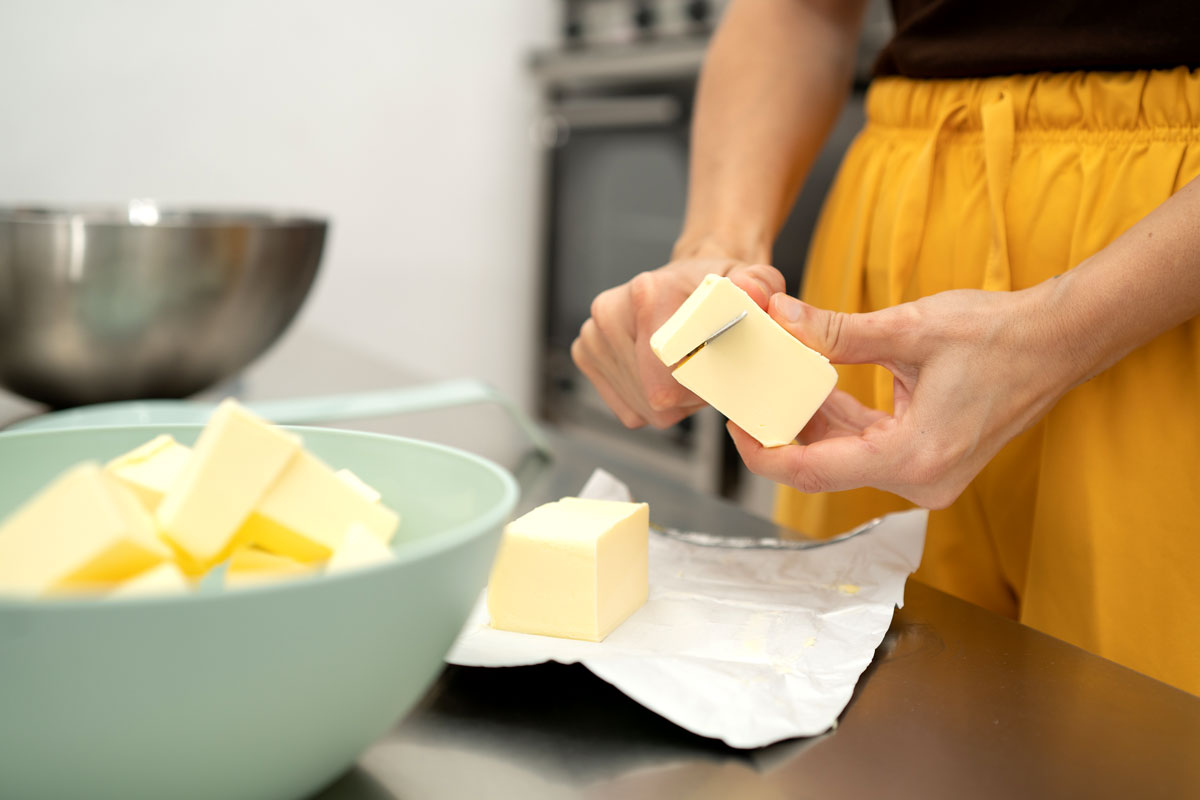
As the saying goes, everything’s better with butter. Besides being delicious when smeared on fresh bread, butter has a variety of jobs when it comes to baking, from giving cakes deep, rich flavor to creating signature flakiness in biscuits. For such a simple ingredient, butter is truly a multipurpose wonder. Plus, it’s surprisingly easy to make, no butter churn required.
Sure, you can choose from various grocery store butters, but making your own gives you maximum control over flavor, texture, and quality. Best of all, homemade butter takes just one ingredient — heavy whipping cream — and a little time to make. Here’s how to do it with the kitchen tools you already have.
Prices are accurate as of October 12, 2023. Subject to change. All featured products and deals are selected independently and objectively by the author. Better Report may receive a share of sales via affiliate links in content.
Stand Mixer
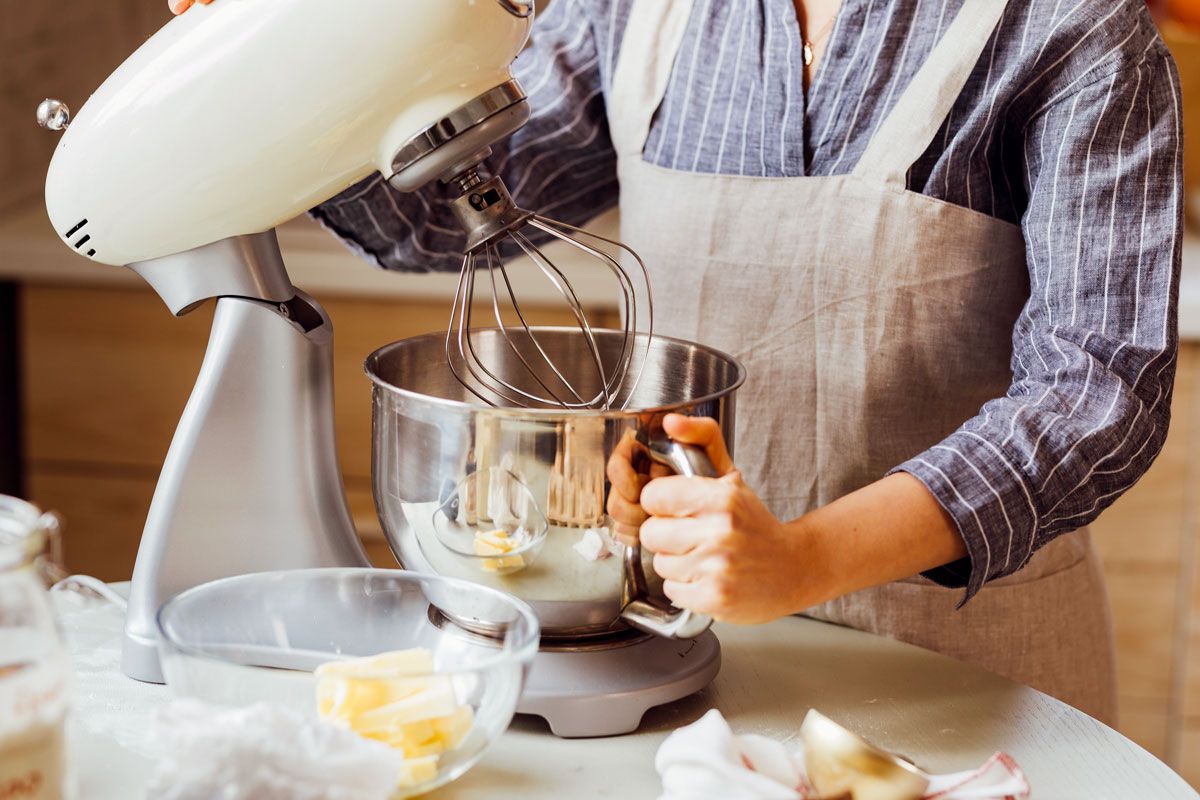
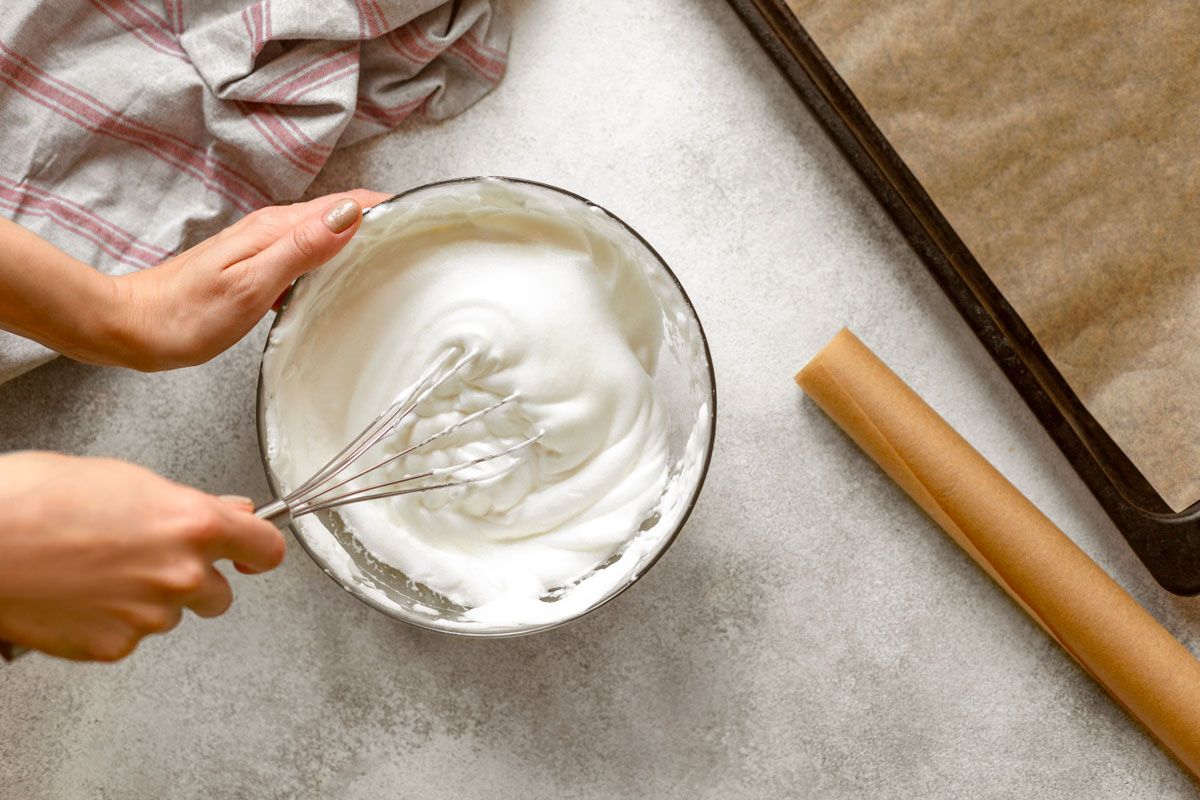
Stand mixers are kitchen powerhouses that seemingly do it all. With just 4 cups of heavy whipping cream and a whisk attachment, you’ll be well on your way to a fresh, buttery spread. Add the cream to the mixing bowl, and start the machine at the lowest setting, gradually increasing as the cream thickens. The cream will stiffen through soft peaks (this is whipped cream!), then harder peaks, until it eventually becomes butter over about 10 minutes. You’ll know it’s ready when the solid butter clumps together and separates from the buttermilk. Here are our favorite stand mixers.
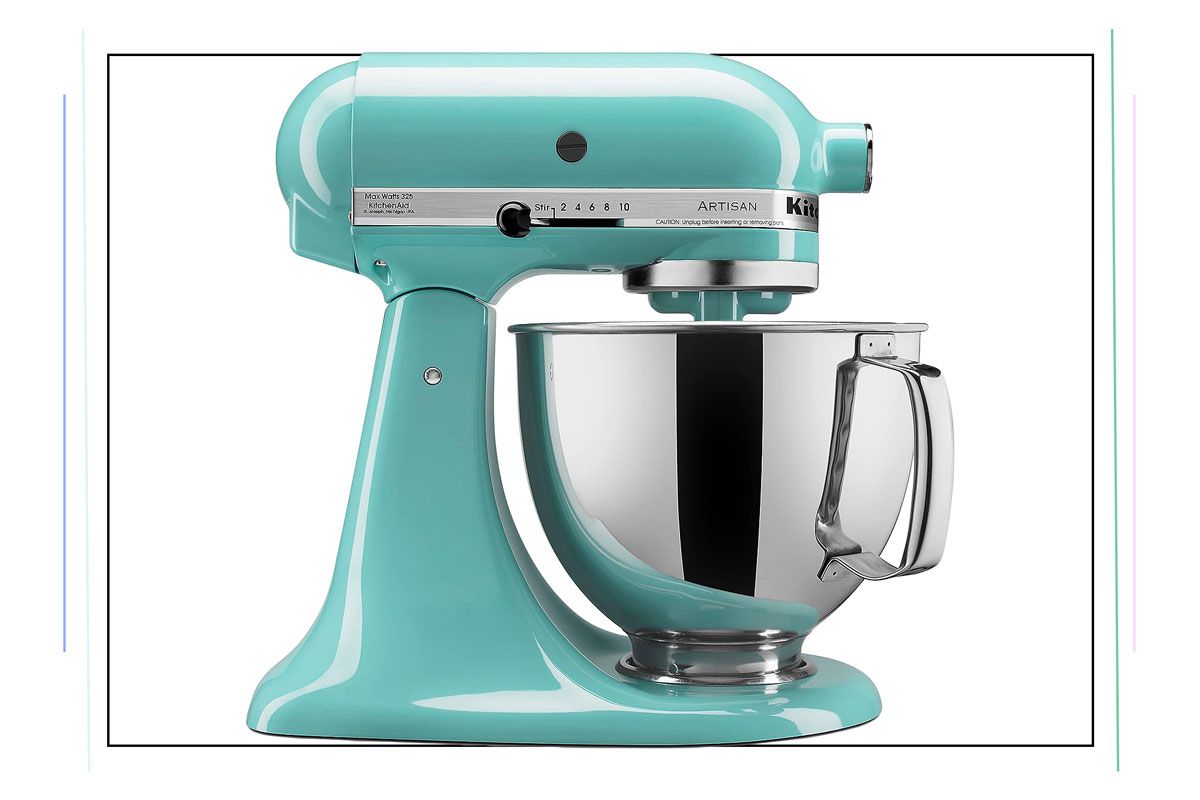
KitchenAid Artisan Series 5 Quart Tilt Head Stand Mixer
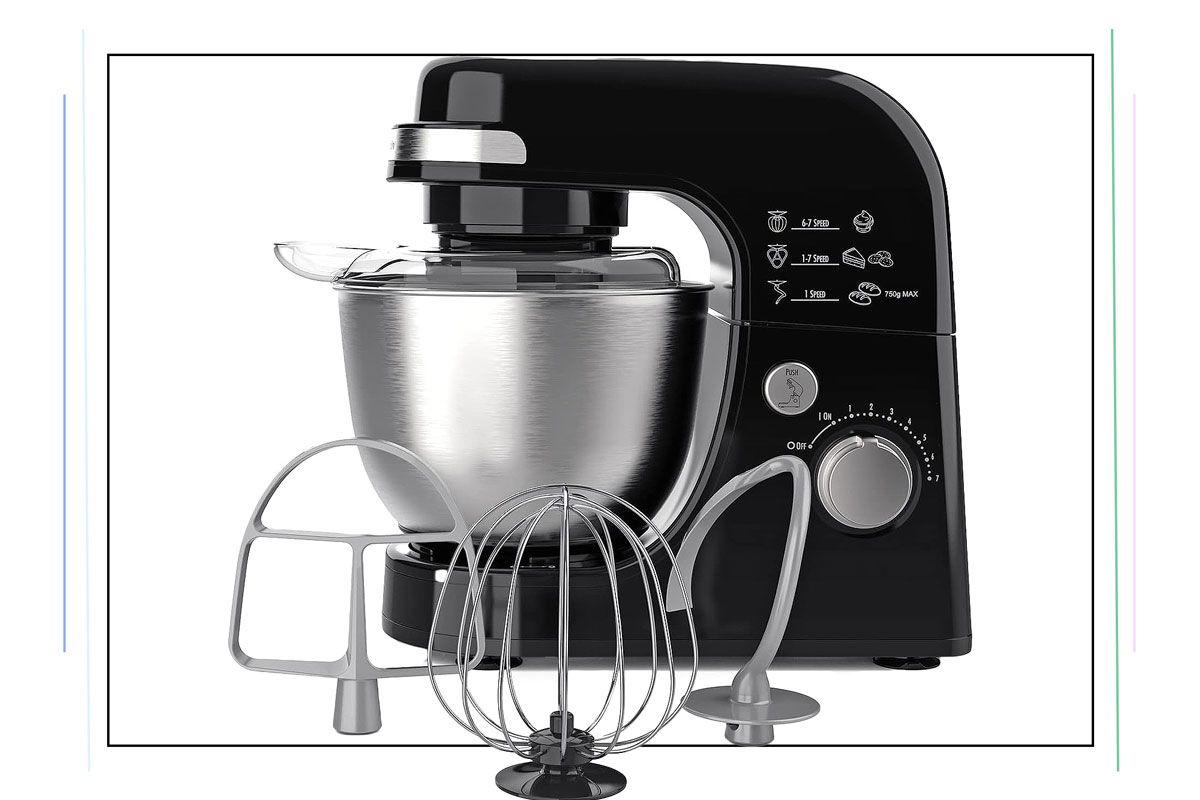
Hamilton Beach Electric Stand Mixer
Hand Mixer
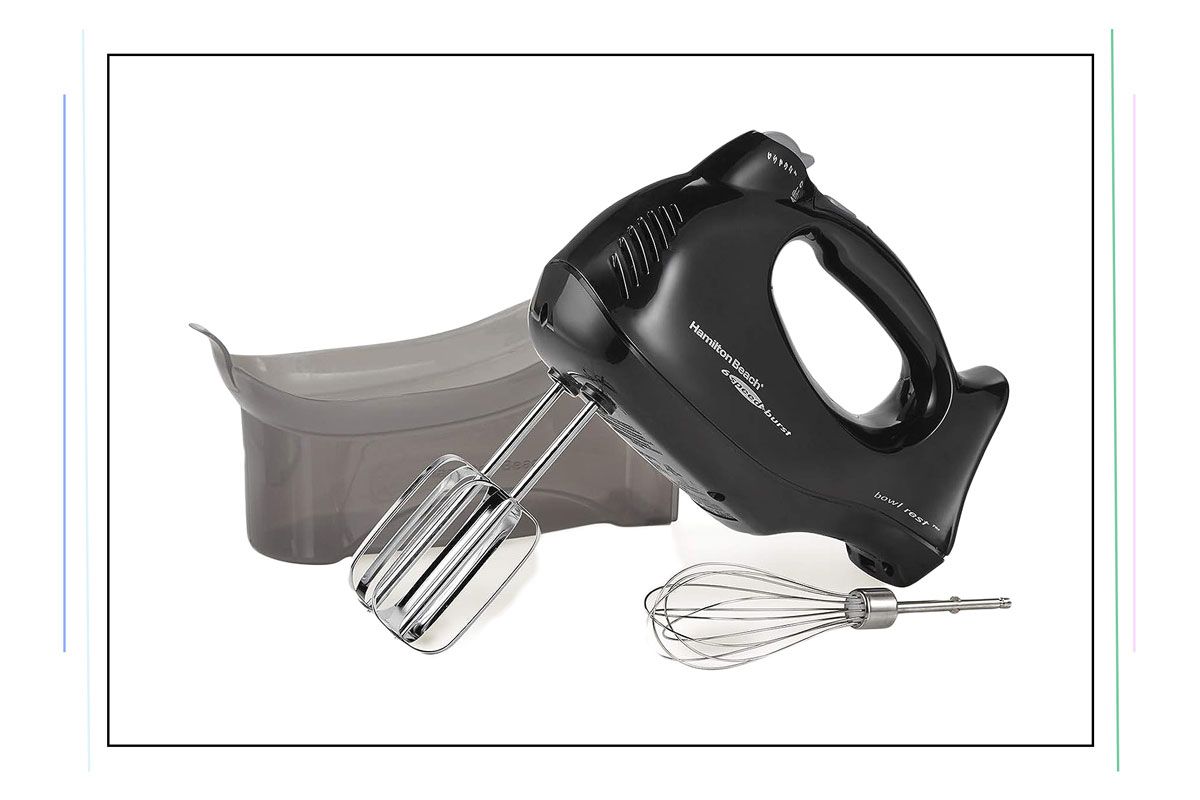
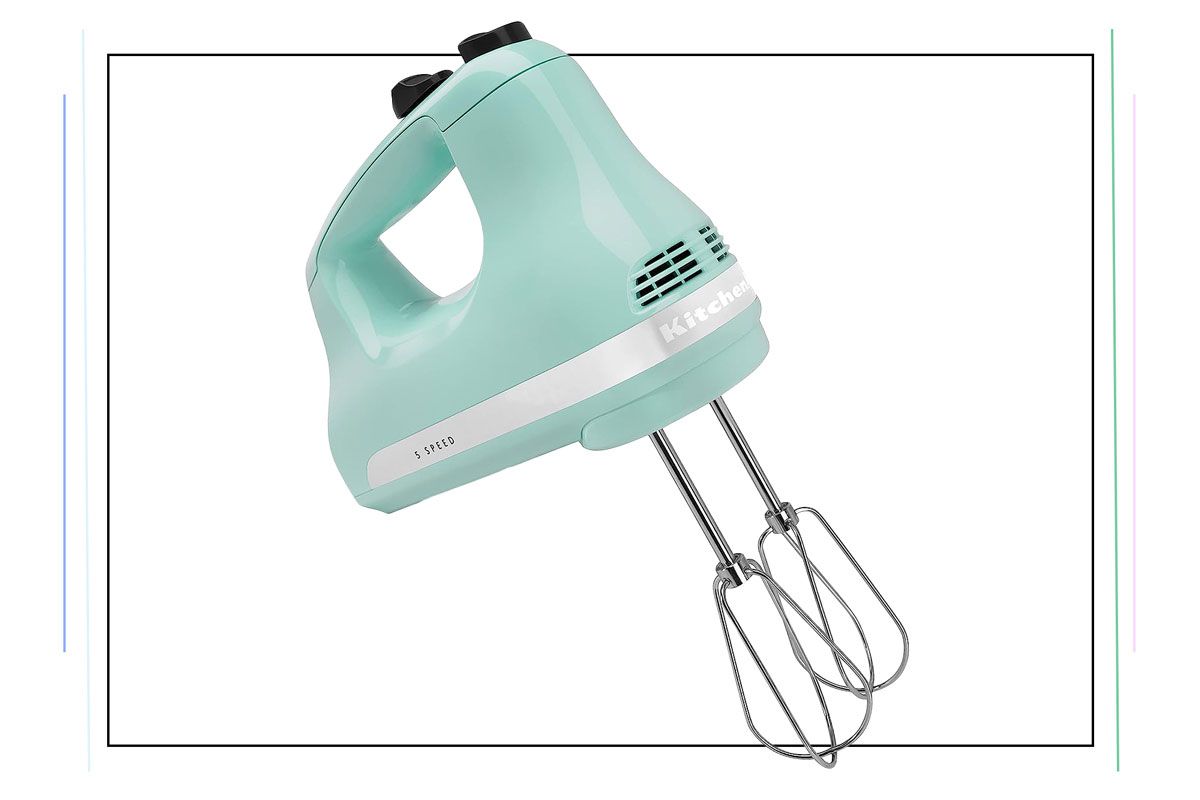
Hand mixers are just as effective at making butter, but unlike stand mixers, you’ll need to use the beater attachments instead of whisks. After pouring 2 cups of heavy cream into a deep mixing bowl, set the hand mixer to medium-high speed, whipping it as it moves from liquid to soft and then stiff peaks. As the butter begins to separate from the buttermilk — after about 10 to 12 minutes — you may experience some splashing. Drape a dish towel over the bowl to reduce any liquid mess until the butter is finished. Here are our favorite hand mixers.
Hamilton Beach 6-Speed Electric Hand Mixer
KitchenAid 5 Ultra Power Speed Hand Mixer

Reader Favorites



Food Processor
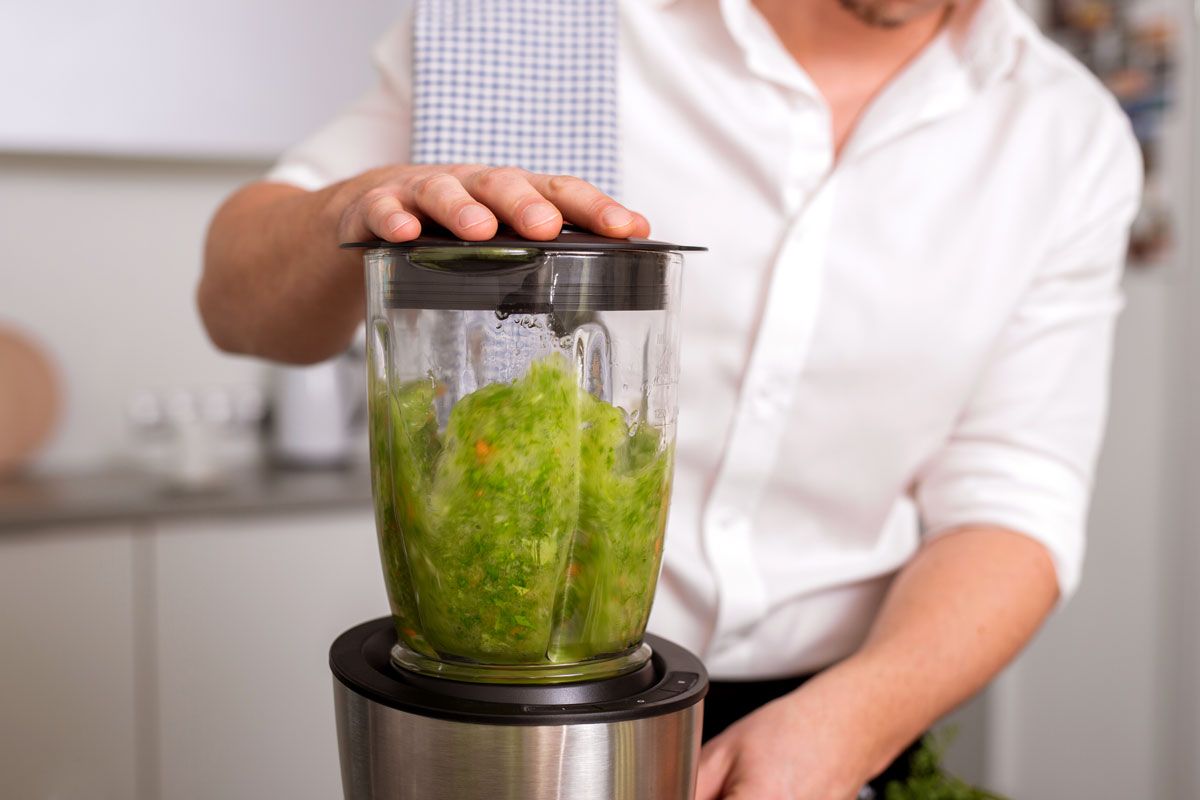
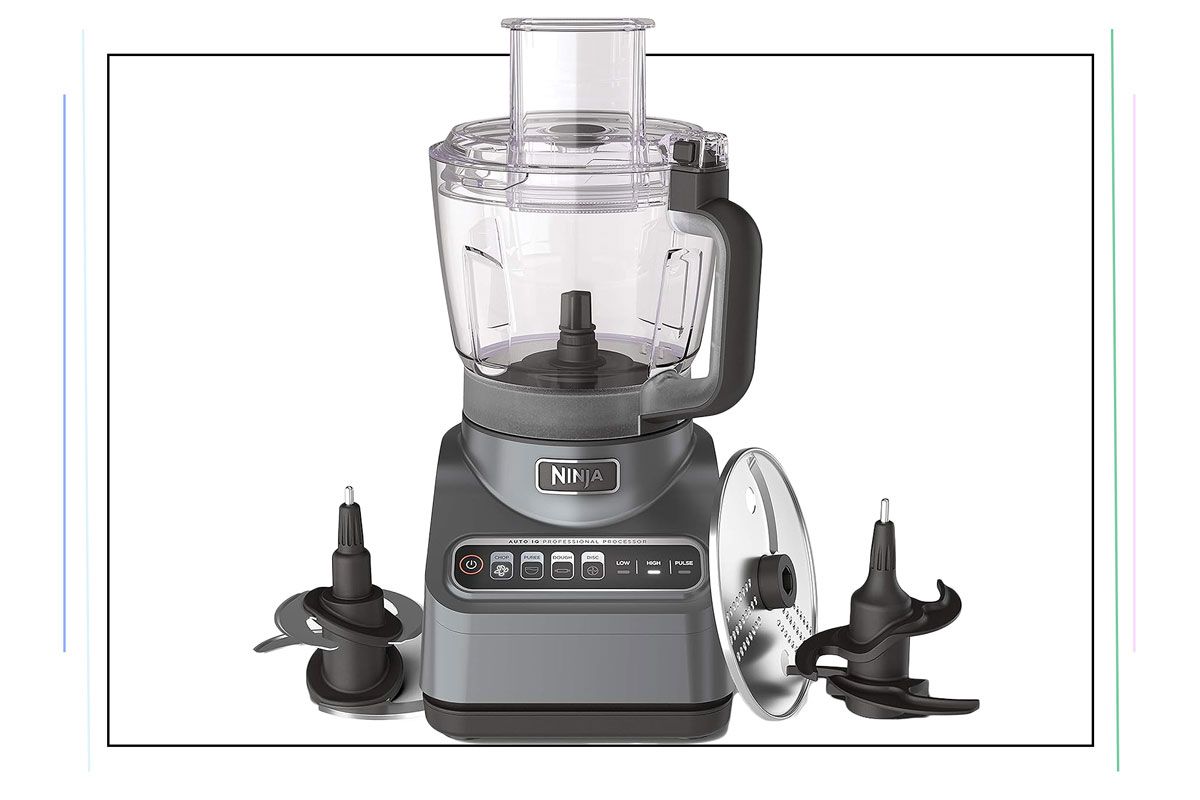
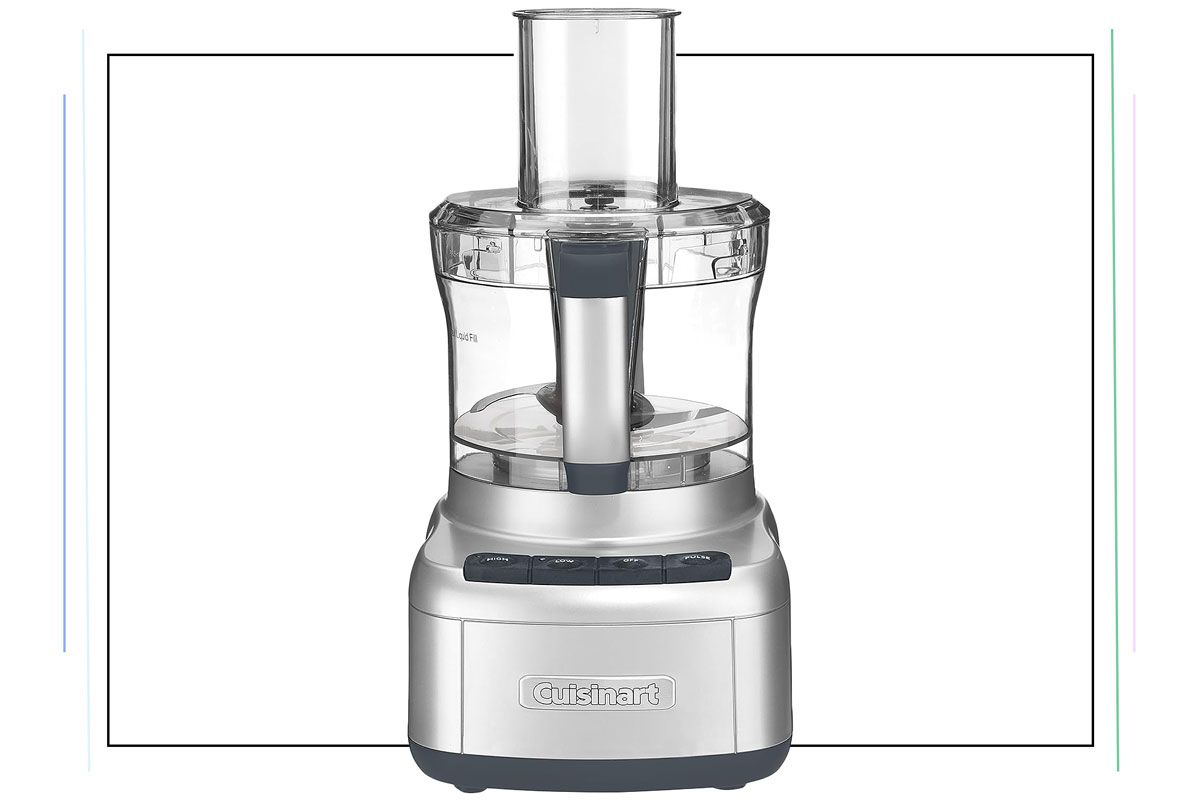
Kitchen tools meant for blending are equally helpful for making homemade butter, especially if you prefer a creamier version. Butter made with a food processor (or blender) will retain a bit more of its buttermilk than versions made with an electric mixer, but the process is essentially the same. Pour 2 cups of whipping cream into a processor and let it rip on the highest level. As the butter sets, you’ll need to stop after every three minutes to scrape down any liquid that’s splashed up along the blender bowl. The butter will curdle together in its recognizable form in about six to nine minutes. Here are our favorite food processors.
Ninja BN601 Professional Plus Food Processor
Cuisinart 8 Cup Food Processor
Mason Jar
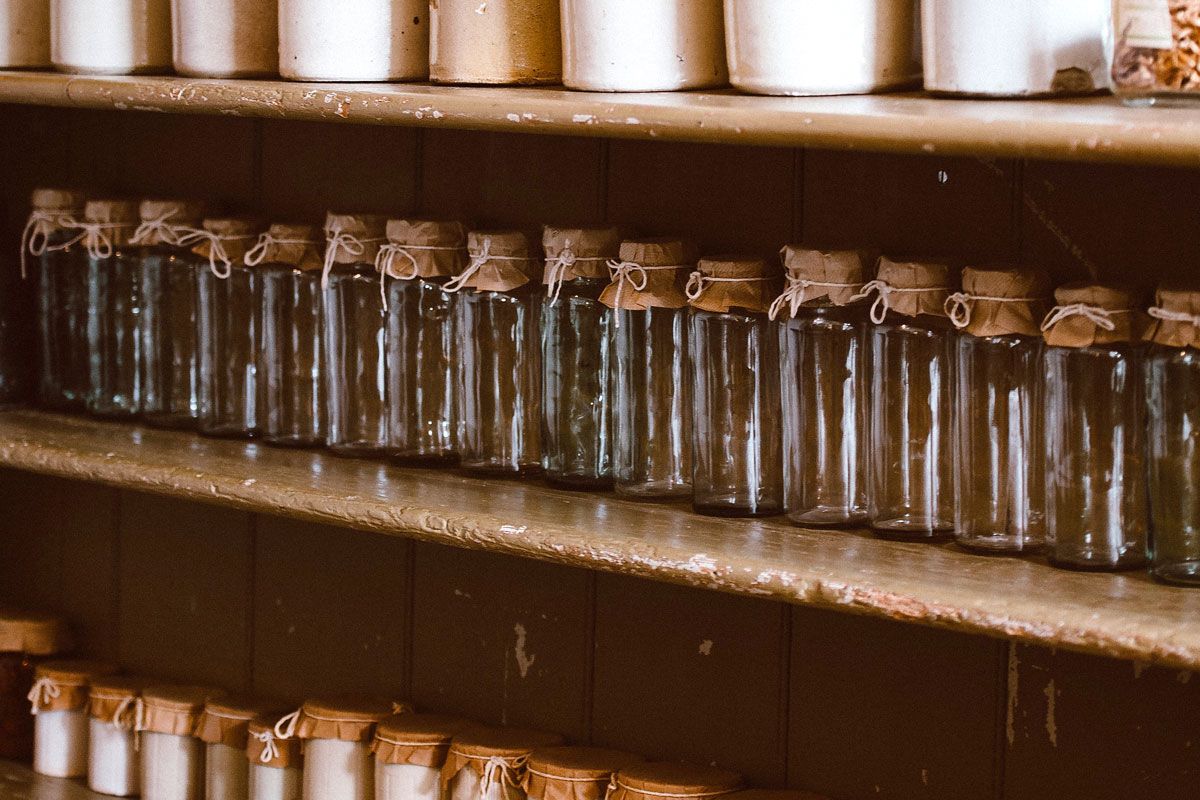
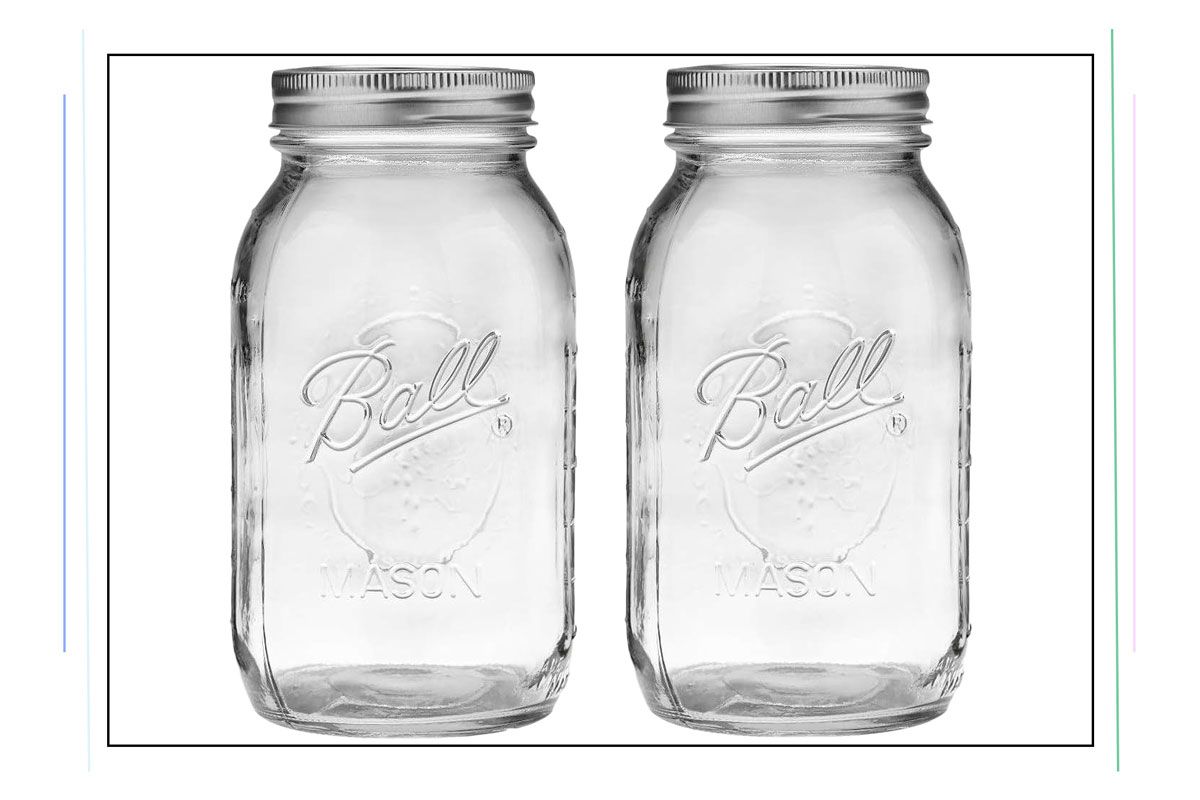
Making a fresh pat of butter doesn’t have to mean having fancy kitchen tools — after all, the earliest butter was made without electricity. Enter the handy mason jar. Pour room-temperature cream into a jar (the amount of cream will vary based on the size of the jar) and shake vigorously for about 30 minutes until butter solids form and the buttermilk separates. It’s a workout, but effective and cheap. Here are our favorite mason jars.
YINGERHUAN Glass Regular Mouth Mason Jars
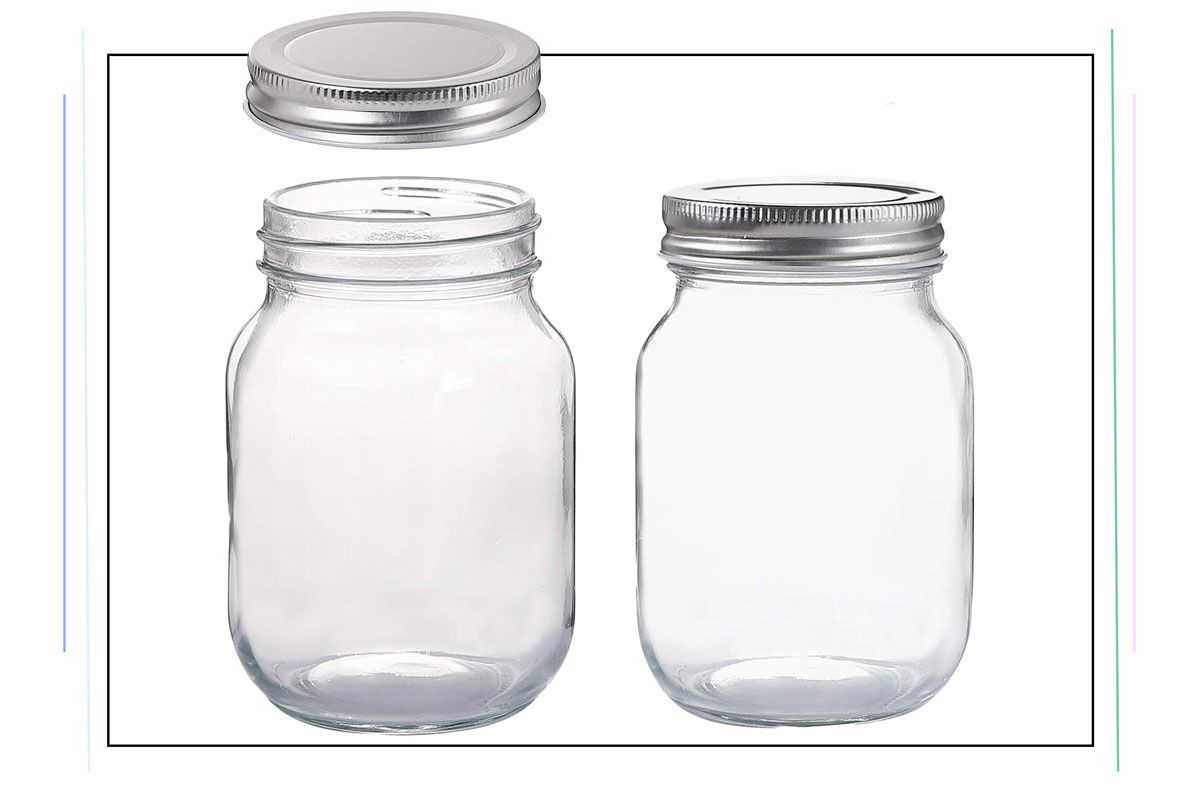
Ball Regular Mouth Mason Jar
Keeping Homemade Butter Fresh
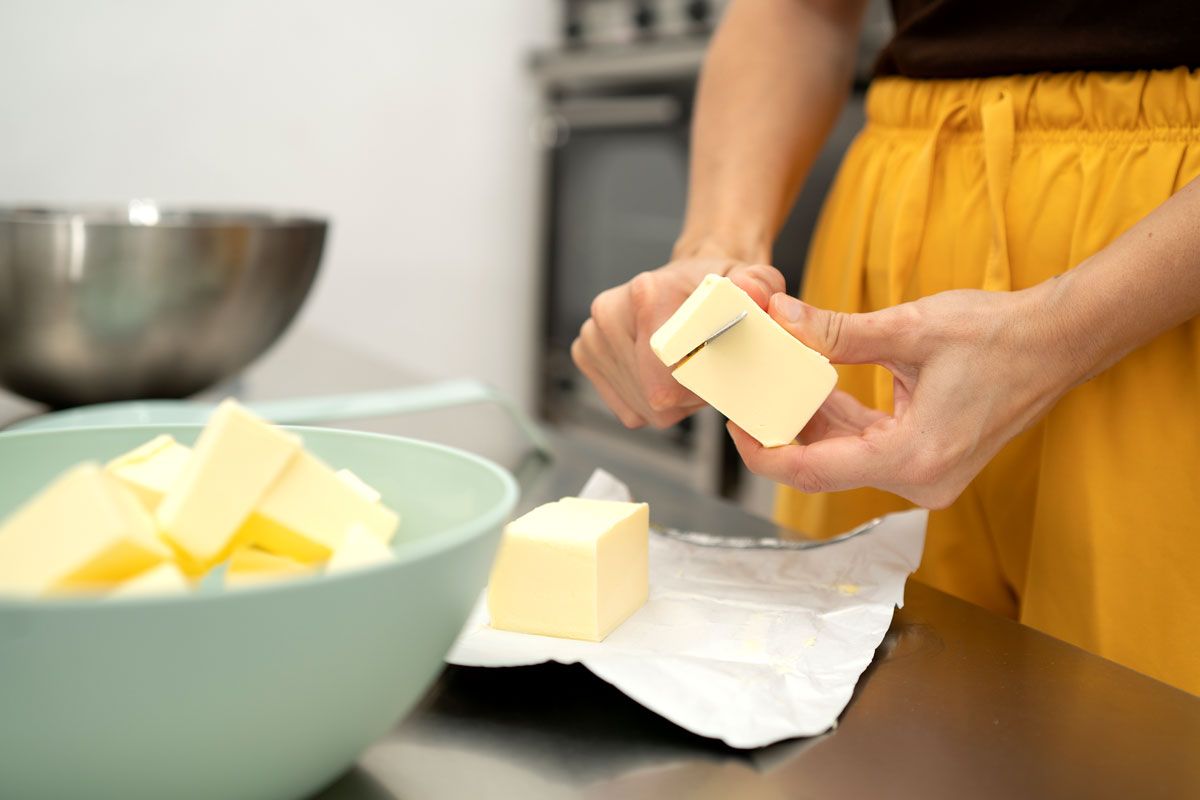
No matter how you make butter, the end product will be the same each time: a fresh, soft-yellow clump with a buttermilk byproduct. Straining that excess liquid away from the butter solids is important because it helps preserve the spread. This can be done in a sieve or by wrapping the butter in cheesecloth or a tea towel and squeezing manually. (Pro tip: Save the excess buttermilk for other recipes.) Rinsing the butter under cold water is the final step. This removes any buttermilk residue and prevents a sour, spoiled taste.
Just remember: Fresh butter won’t last as long as grocery store varieties — just about a week in the refrigerator — but with its superb flavor, it won’t be around long anyway.
Featured Image Credit: Alvaro Alonso Garcia/ iStock
More From Our Network
Better Report is part of Inbox Studio, an email-first media company. *Indicates a third-party property.







Nicole Garner Meeker is a freelance writer, research editor, and Inbox Studio contributor. Based in St. Louis, she’s an enthusiastic gardener, fiber artist, and connoisseur of fine snacks.
This article is for general informational purposes only.
Affiliate Disclaimer Medical Disclaimer Financial Disclaimer